

.190x190.JPG)
Pupusas 101
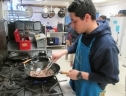
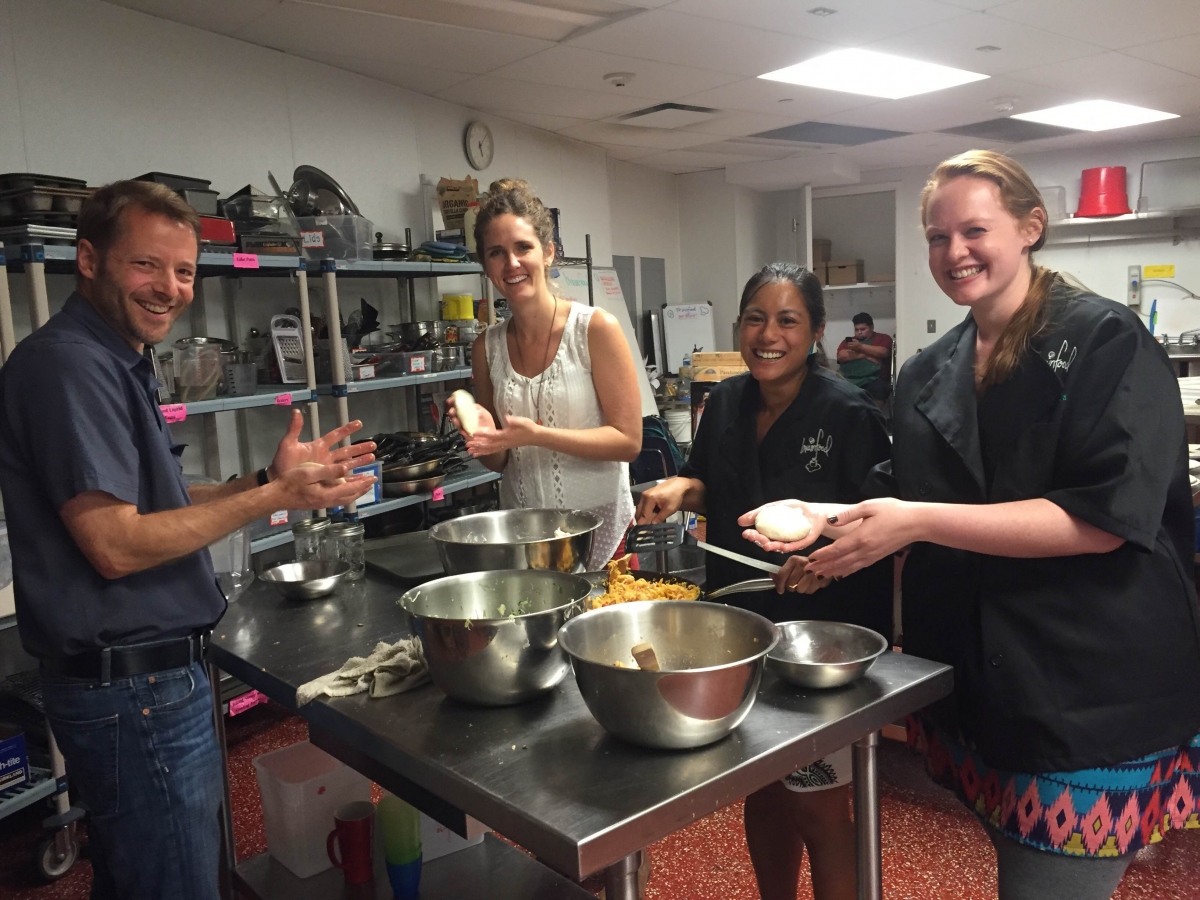
During the time between summer and school year programs, Brainfood staffers have lots to do: between writing reports, planning for after-school programs, organizing the kitchens and office, and more, our plates are pretty full. Yet in the midst of all this, we took some time last week to enjoy each other’s company and try our hands at a new kitchen skill: the art of making pupusas. The pupusa is a culinary endeavor that some of us had tried before, but had never really mastered. It comes up on the Brainfood Student Requests list almost every year, we've all heard about different fillings and styles, and we all have our favorite pupuseria in Columbia Heights or Mount Pleasant. It’s definitely a fixture of our lives, so we wanted to experiment with some recipes and hone our technique.
We were lucky to have a great teacher, Teresa, a chef who we share kitchen space with at our Mount Vernon site. She generously took the time to show us her technique and coach us through the process. Once we learned from the master, we gave it a try by ourselves, and we were pretty pleased with the results. For all you aspiring pupusa makers out there, here's a step-by-step overview of the process!
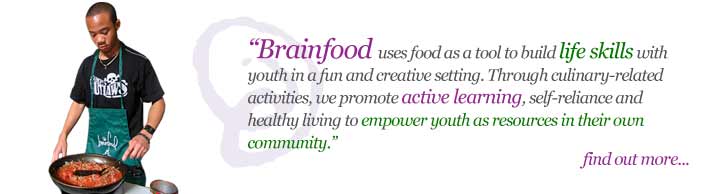
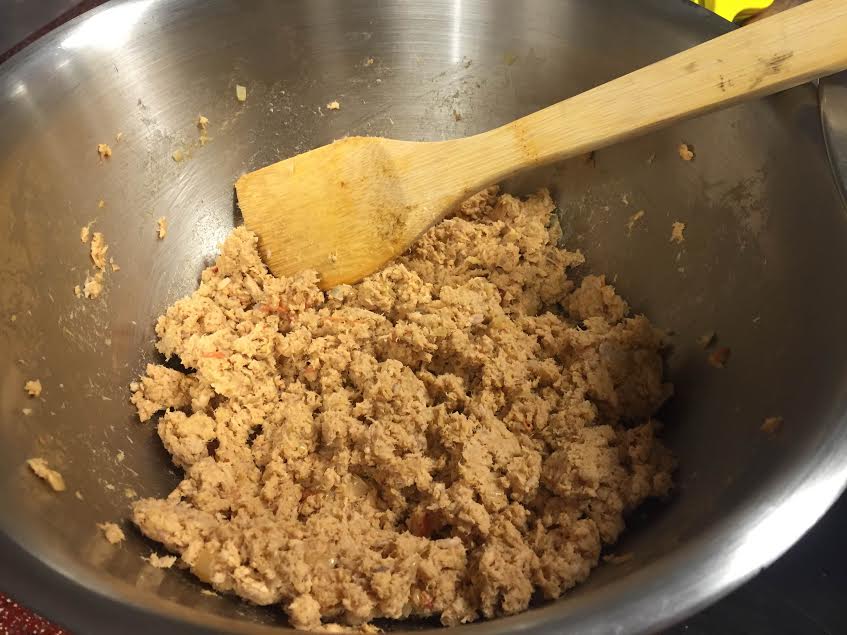
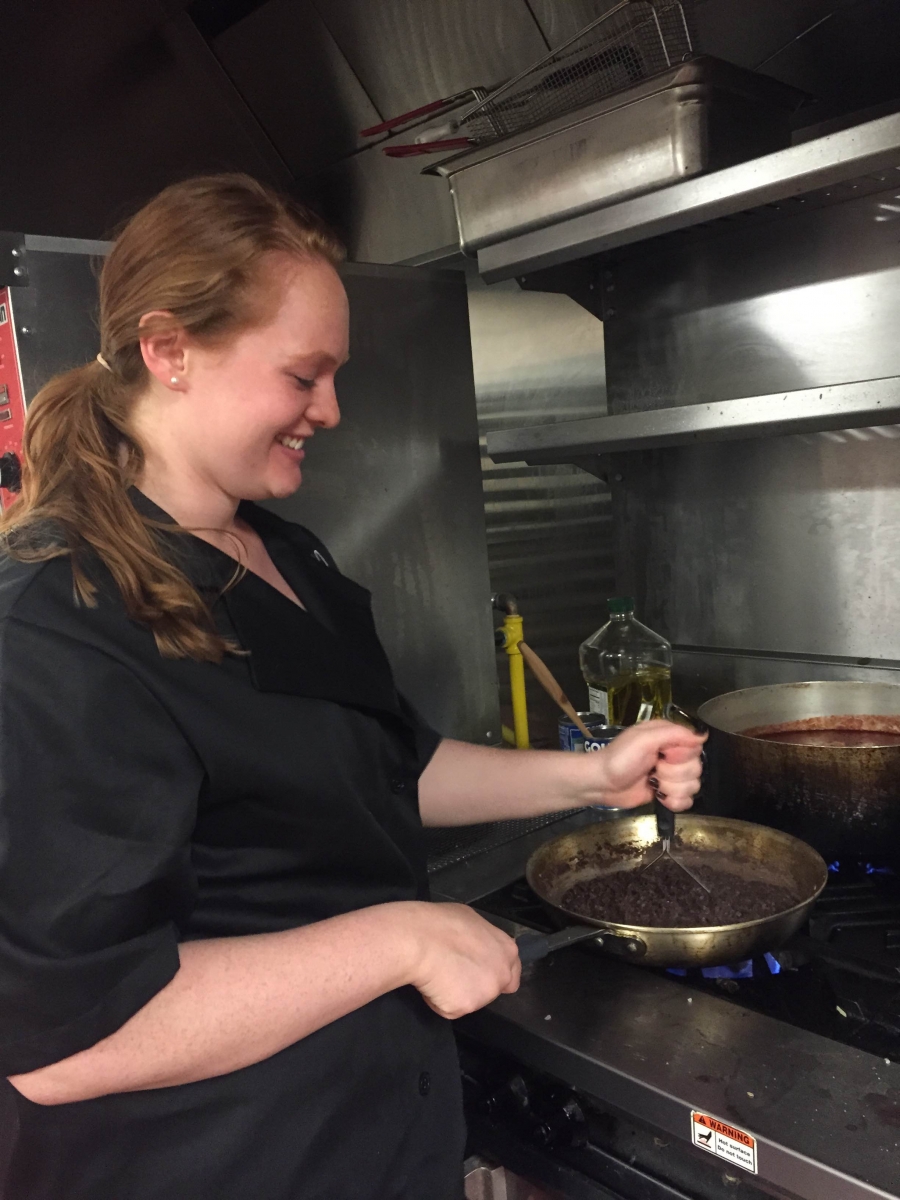
Step 1: Make Your Fillings
We went with black beans (lovingly hand-mashed by Amanda!), shredded pork, and a sauteed summer squash veggie mixture. Of course, all three got a generous sprinkling of a delicious mild white cheese, labeled specifically as cheese for pupusas.
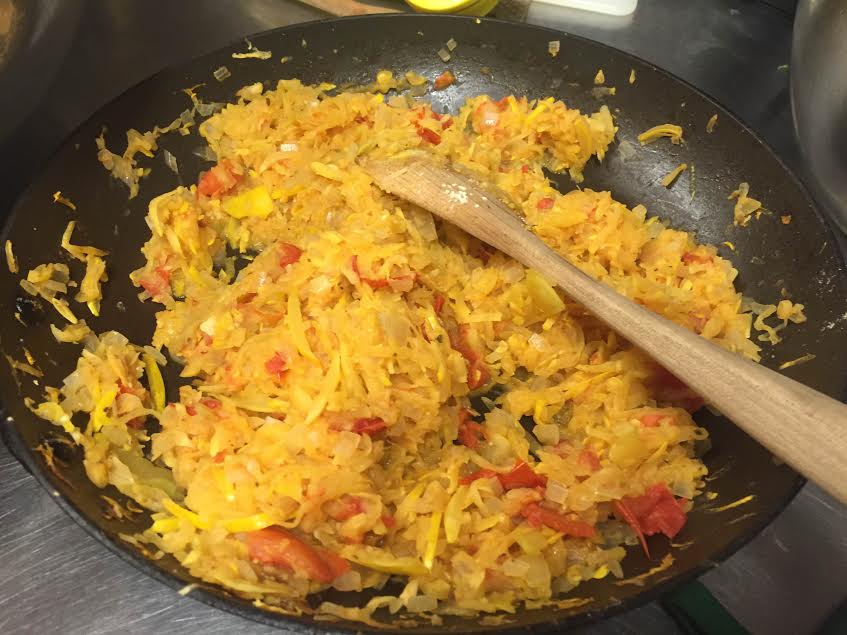
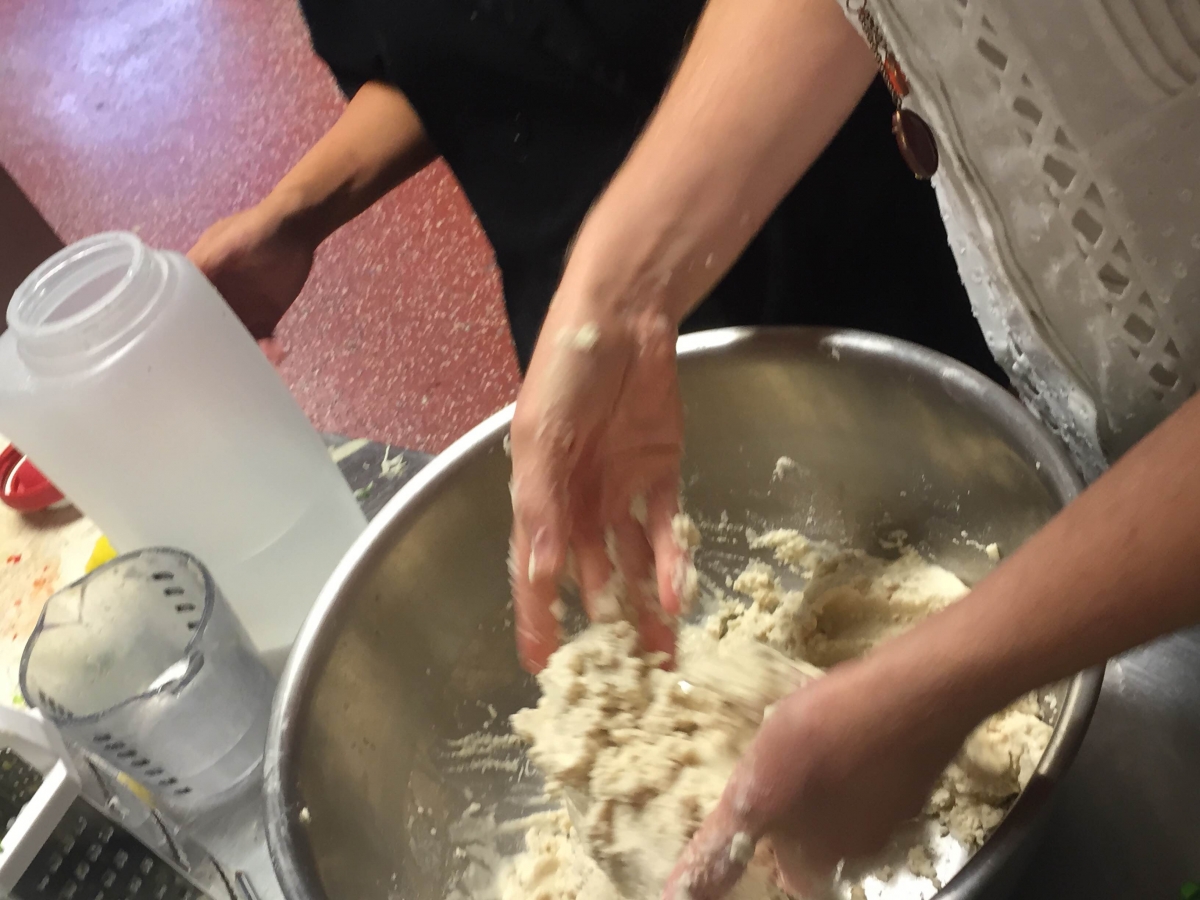
Step 2: Make Your Dough
A simple ingredient list (masa flour and water) to be sure, but it’s a delicate balance to get the right consistency. Once we determined it wasn’t too wet or to dry, we were ready for assembly. It should be the texture of wet sand, and can be pressed into a flattened disk without cracking at the edges.
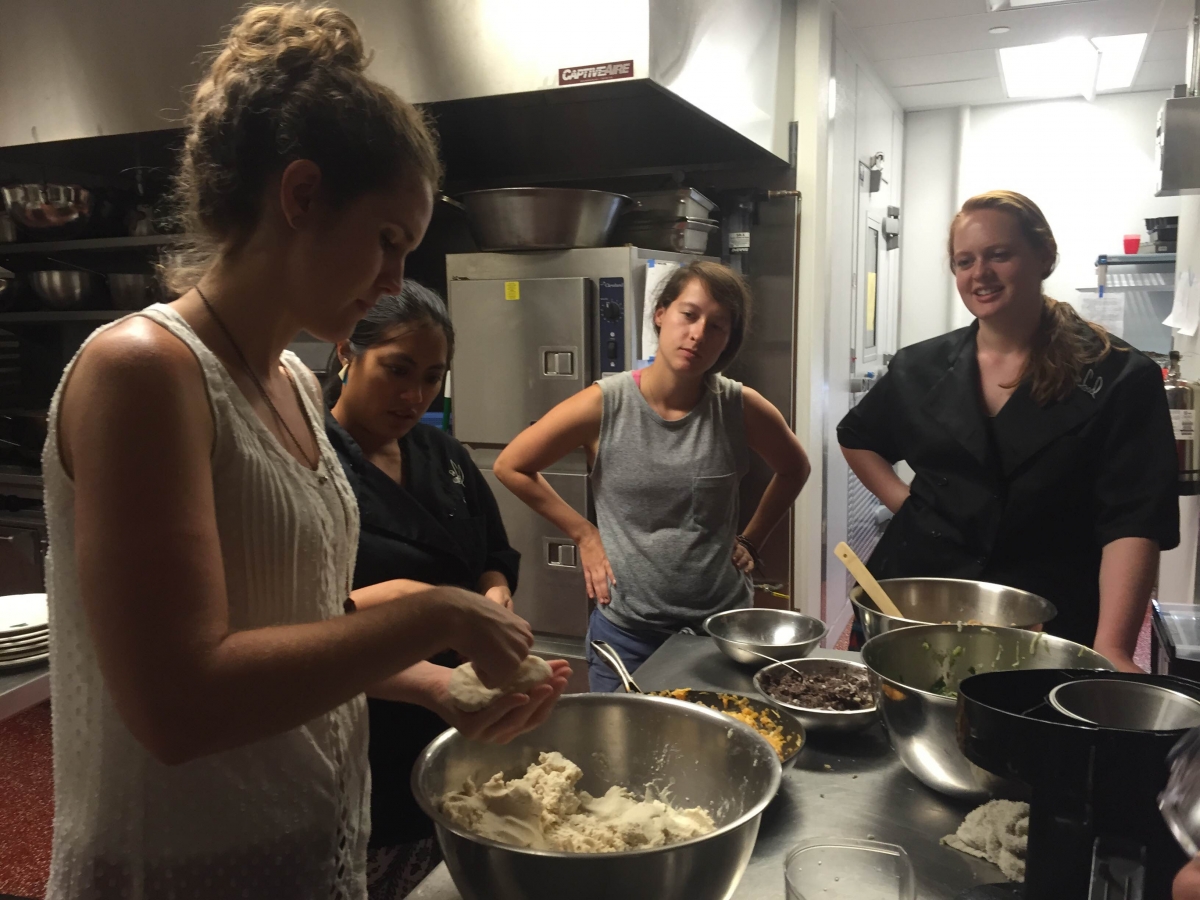
Step 3: Form Your Pupusas
This is the hard part. In our experience, the big pitfall of forming pupusas is the filling–to-dough ratio issue: no one wants to eat a cornmeal disk with just a tiny morsel of beans and cheese deep in the center, but it’s hard to get a lot of filling inside without breaking the dough. We learned the art of using a fist to form the dough into a bowl, then plopping in a surprisingly large amount of filling, and finally, gathering the dough around it and pinching off the excess (the pinch is essential!) before flattening the ball into a disk by gently passing it back and forth between two oiled hands.
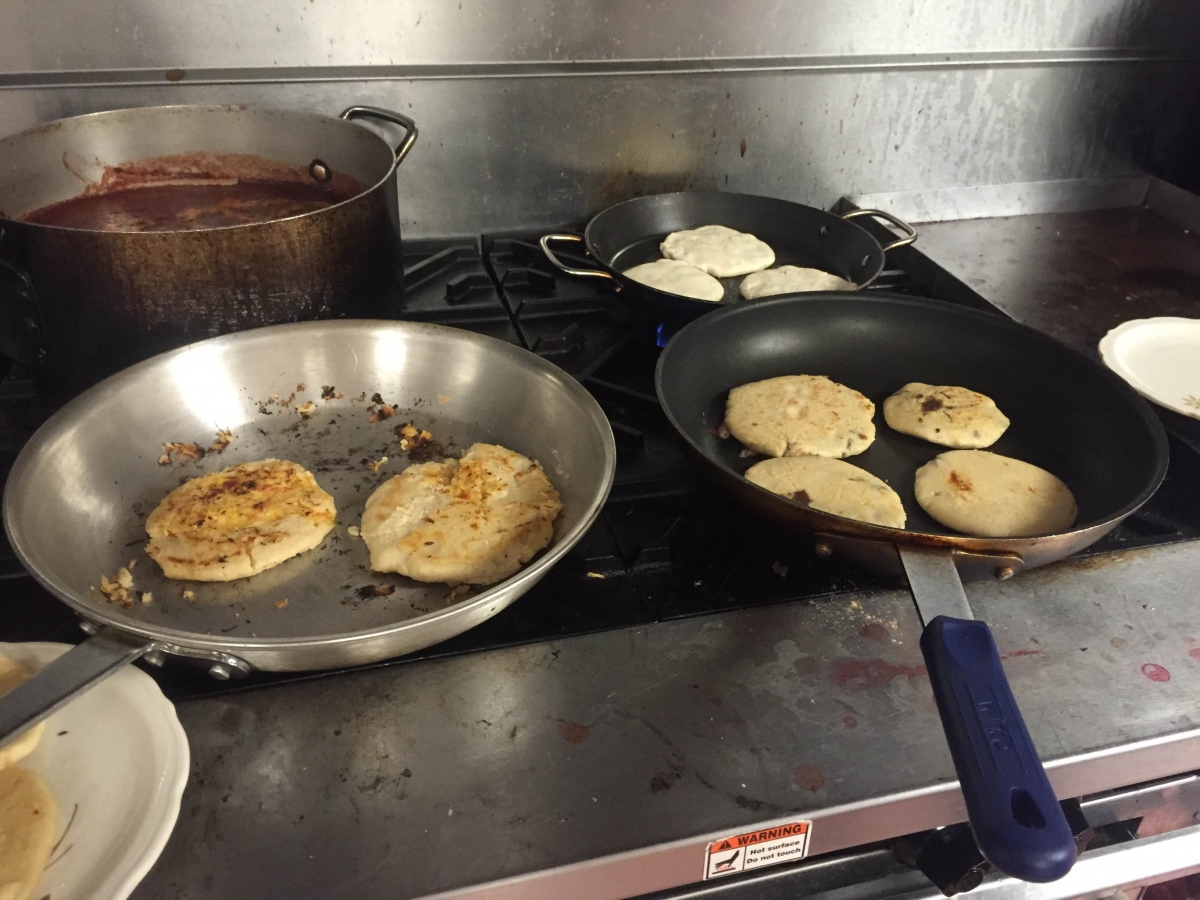
Step 4: Cook Your Pupusas
Lightly pan-fry until they are lightly browned and the dough is firm (the filling is fully cooked, so no need to worry about cooking through) and make sure to flip them so both sides get that golden crusty exterior. Fun fact: you don't need to oil the pan, because you oiled the outside of the pupuas as you flattened it!
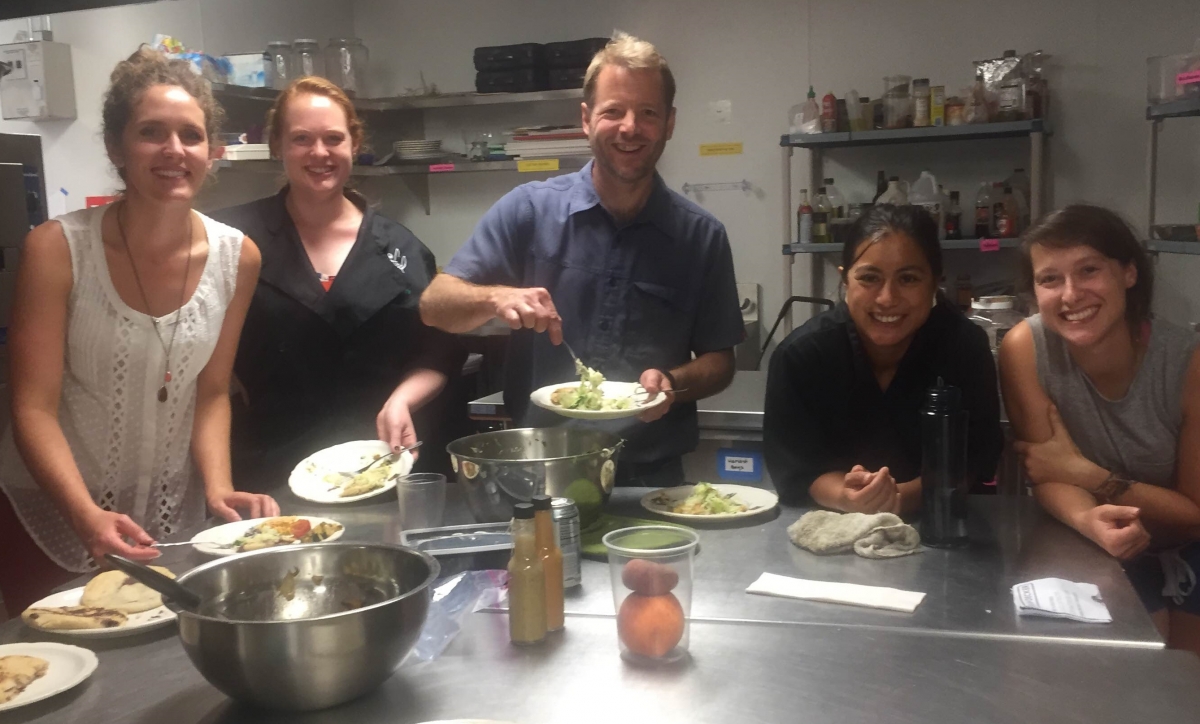
Step 5: Serve with Curtido (Salvadorean cabbage salad) and enjoy!
The Curtido is essential! Eating pupusas without curtido is like having latkes without applesauce or sushi without soy sauce…still good, but definitely inferior, and really not the same thing. We made our own Curtido: a simple slaw made of cabbage, carrot, onion, vinegar, and salt. You could spruce it up with herbs and spices or keep it classic. The tangy crunch is an amazing complement to the warm, soft pupusa. Delicious!

Comments
Post new comment